Basic Server Hardening Guide

If you don't like big tech companies prying their eyes on your data, you might want to self host all the services either locally on-premise or on a cloud server (a Virtual Private Server or a Dedicated Server).
When you are doing this, yes, you are safe from the eyes of big tech, and you actually get to have some privacy. HOWEVER, you will be in charge of your own data security. Therefore, hardening your server is essential to keep your data secure from bad actors and sometimes even automated scanners.
In this article, let's see how to do just that. This guide focuses on Debian 12 (not Ubuntu, since it's Canonical's bloat). Let's get started.
After the server is up and running, log in as the root user to get started.
Initial Setup
Let's get started by updating all the repositories and upgrading all the installed packages.
apt update
apt upgrade
Then, let's create a new user called debian. It's always best practice to leave the root user alone. Then, we will log back in / or switch to the user debian before running all the other commands.
Let's first create the new user.
adduser debian
Lets also add the newly created user to the sudo group. This will allow the user to run commands as root without really having to switch the user.
usermod -aG sudo debian
Now, lets switch from root user to the newly created user.
su debian
Then, come to your home directory.
cd ~

# or cd into the absolute path
cd /home/debian/
SSH Setup
Assuming that you've already logged using SSH, you have it up and running.
Let's now copy the user's public key. Refer to my old article about using SSH securely for more information.
# setup the ~/.ssh directory
mkdir -p /home/debian/.ssh
sudo chown -R debian:debian /home/debian/.ssh
sudo chmod 700 /home/debian/.ssh

# setup the `authorized_keys` file
touch /home/debian/.ssh/authorized_keys
sudo chmod 600 /home/debian/.ssh/authorized_keys
Now, add your public keys to the authorized_keys file since we will be disabling password login later.
nano /home/debian/.ssh/authorized_keys
It should now look something like this:
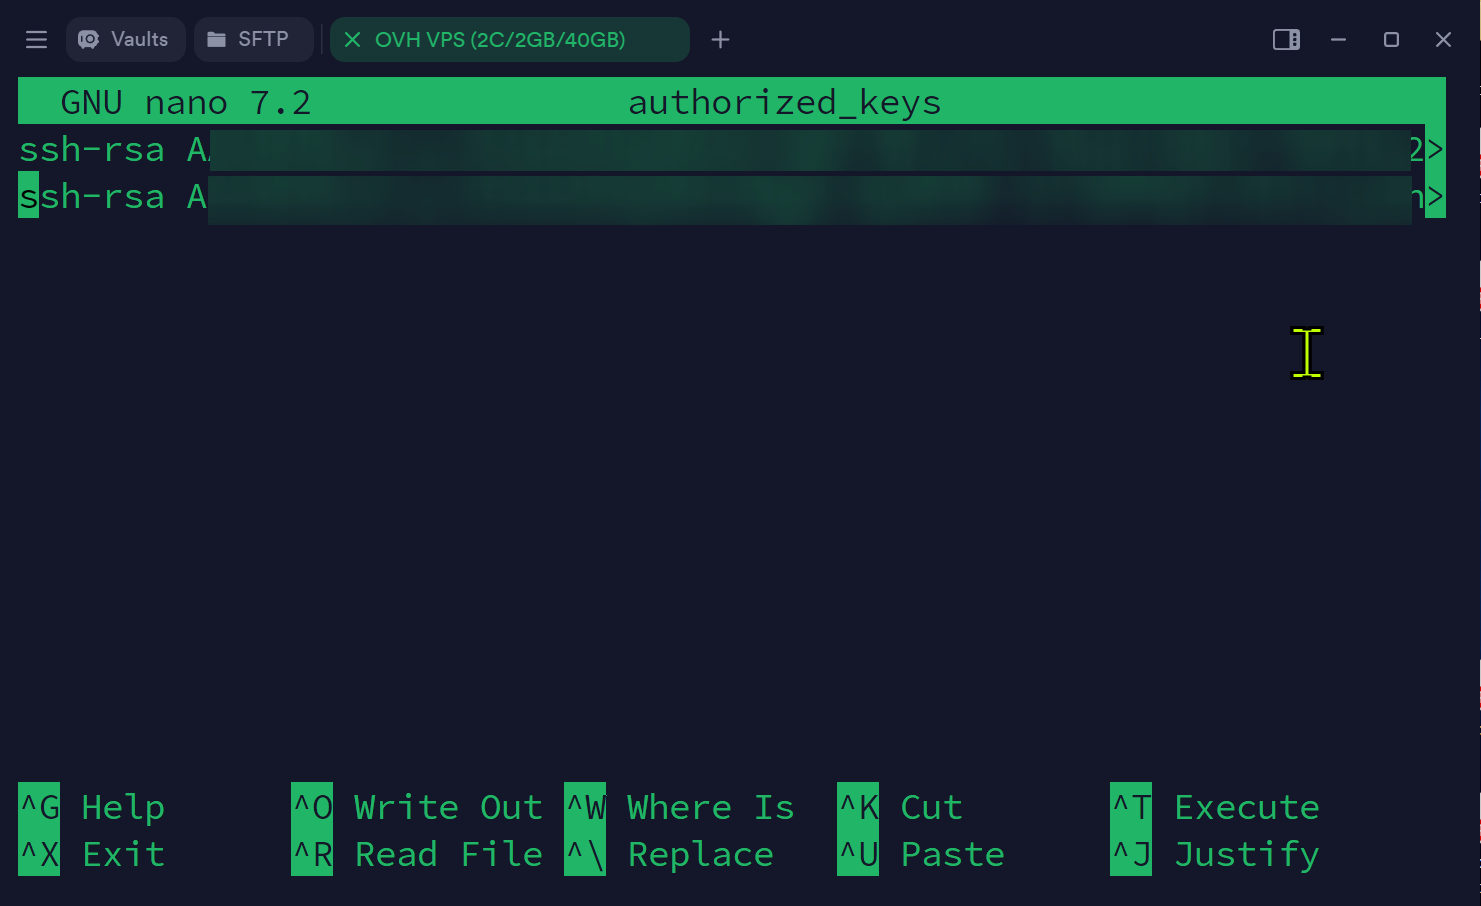
It should update automatically, but just to be safe - lets restart sshd service.
sudo systemctl restart sshd
To test this, try to log back in again as the user debian and if everything went correctly, you should be able to log in without entering the password.
Let's now make SSH secure by adjusting some settings of it's configuration file at /etc/ssh/sshd_config
sudo nano /etc/ssh/sshd_config
Change these options as follows:
# don't anyone to log in as the root user
PermitRootLogin no

# disable logging in using the password
PasswordAuthentication no

# enable public key authentication
PubkeyAuthentication yes

# prevents empty passwords
PermitEmptyPasswords no
Then, restart the ssh service again for the changes to apply.
sudo systemctl restart ssh
You can learn more about some other common options in this configuration file here. OpenSSH is very flexible and customizable, but for the purpose of this basic hardening guide, these changes should be enough.
Fail2Ban Setup
" Fail2Ban scans log files like /var/log/auth.log and bans IP addresses conducting too many failed login attempts. It does this by updating system firewall rules to reject new connections from those IP addresses, for a configurable amount of time. Fail2Ban comes out-of-the-box ready to read many standard log files, such as those for sshd and Apache, and is easily configured to read any log file of your choosing, for any error you wish. Though Fail2Ban is able to reduce the rate of incorrect authentication attempts, it cannot eliminate the risk presented by weak authentication. Set up services to use only two factor, or public/private authentication mechanisms if you really want to protect services. " - Fail2Ban Github Repository
Let's first install fail2ban.
sudo apt install fail2ban
Next, after installation, check if fail2ban is up and running.
sudo systemctl status fail2ban.service
In this case, with the current version of fail2ban and Debian I'm using, I get this error (it works fine with Ubuntu, this issue is only with Debian): "Failed during configuration: Have not found any log file for sshd jail"

Let's fix this later, but before that lets do the initial configuration.
cd /etc/fail2ban
head -20 jail.conf # just to confirm
sudo cp jail.conf jail.local
We will now edit the jail.local file. The reason we edit the jail.local file instead of the jail.conf file is that with certain updates, the jail.conf file might get overwritten - thus losing our configuration. To mitigate this issue, even fail2ban will first check for the jail.local and use that if it exists over jail.conf.
sudo nano jail.local
Scroll down to find this section:
[DEFAULT]
# ...

[sshd]
port    = ssh
logpath = %(sshd_log)s
backend = %(sshd_backend)s
Update it as follows:
[DEFAULT]
# ...

[sshd]
+ enabled = true
port    = ssh
logpath = %(sshd_log)s
- backend = %(sshd_backend)s
+ backend = systemd
Here, updating backend from %(sshd_backend)s to systemd will fix the aforementioned error. I found this solution here.
Now, restart the fail2ban service and check its status.
sudo systemctl restart fail2ban
sudo systemctl status fail2ban
If it's active and loaded, to verify the active/loaded number of jails, run the command below.
sudo fail2ban-client status
If you see something like this, it means your setup is successfull.

Also, do note that fail2ban is a very powerful tool and it can be combined with a lot of services easily. To get started, you can see this awesome guide and also the official documentation.
Docker
docker can be installed the traditional (rootful) way, where the docker daemon (dockerd) runs as the root user. In this setup:
- The UNIX socket
/var/run/docker.sockis owned by root. - Any process or user with access to this socket can effectively gain root privileges on the host.
- This is because interacting with the docker daemon gives the ability to mount volumes, modify the network, and run privileged containers - essentially allowing full control over the host.
Many containers, especially the ones for development or CI/CD tools (like Portainer, Gitea, etc...), request access to this socket to control other containers. The issue here is that if one container like this gets compromised, our host system will be at risk.
To avoid these risks, we will proceed by installing docker in rootless mode, which runs the docker daemon and client as our non root user (debian).
However, do note that some features are not supported but most of the commonly used features now have workarounds. Make sure you read the official documentation and see if it fits your use case, otherwise, just proceed with the traditional rootful docker setup and harden in yourself. In this article, we will be looking at the rootless setup.
Rootless Setup
To installl rootless docker, the easiest way I found after testing for multiple times is to first install docker the traditional rootful way. Then, we will setup it to be rootless.
Follow the official documentation to install docker the rootful way.
First, lets setup the repositories.
# Make sure you are inside your home directory:
cd ~

# Add Docker's official GPG key:
sudo apt-get update
sudo apt-get install ca-certificates curl
sudo install -m 0755 -d /etc/apt/keyrings
sudo curl -fsSL https://download.docker.com/linux/debian/gpg -o /etc/apt/keyrings/docker.asc
sudo chmod a+r /etc/apt/keyrings/docker.asc

# Add the repository to Apt sources:
echo \
  "deb [arch=$(dpkg --print-architecture) signed-by=/etc/apt/keyrings/docker.asc] https://download.docker.com/linux/debian \
  $(. /etc/os-release && echo "$VERSION_CODENAME") stable" | \
  sudo tee /etc/apt/sources.list.d/docker.list > /dev/null
sudo apt-get update
And then install the packages.
sudo apt-get install docker-ce docker-ce-cli containerd.io docker-buildx-plugin docker-compose-plugin curl
Optionally, you can also follow the post installation setup of docker. But i haven't tested this and it might break things with the rootless install. So, its better not to proceed.
Now let's setup rootless docker. Click here to see the official documentation for the setup.
First, lets disable rootful docker and get rid of the docker.sock
sudo systemctl disable --now docker.service docker.socket
sudo rm /var/run/docker.sock
Next, run the rootless docker script.
curl -fsSL https://get.docker.com/rootless | sh
You will then see something like this at the very end of the installation logs (if everything was successfull).
# ...
[INFO] Installed docker.service successfully.
[INFO] To control docker.service, run: `systemctl --user (start|stop|restart) docker.service`
[INFO] To run docker.service on system startup, run: `sudo loginctl enable-linger debian`

[INFO] Creating CLI context "rootless"
Successfully created context "rootless"
[INFO] Using CLI context "rootless"
Current context is now "rootless"

[INFO] Make sure the following environment variable(s) are set (or add them to ~/.bashrc):
export PATH=/home/debian/bin:$PATH

[INFO] Some applications may require the following environment variable too:
export DOCKER_HOST=unix:///run/user/1000/docker.sock
Follow these instructions and add the contents below to all these files listed below. This is confirm that its the same rootless docker installation being used by all the users. If you have multiple users with their own rootless docker installs for some reasons, only edi the ~/.bashrc and not the other files.
sudo nano ~/.bashrc
sudo nano /etc/profile
sudo nano /etc/bash.bashrc
# docker rootless
export PATH=/home/debian/bin:$PATH
export DOCKER_HOST=unix:///run/user/1000/docker.sock
To confirm the installation was successfull, log out and log back in to confirm:
debian@vps-9ea0e519:~$ which docker
/home/debian/bin/docker

Best Practices
Some containers might shit itself while running and crash after using all the resouces. Therefore, limiting the resources of the container is always a good idea. Below is an example docker-compose.
deploy:
  resources:
    limits:
      cpus: '0.50'
      memory: 256M
For credintials, use docker secrets to handle them securely.
You might also want to consider running containers as non root by editing their Dockerfile, by doing something like this.
USER appuser
Networks & Firewalls
Configuring Kernel Parameters
We will now configure some kernal parameters by editing the sysctl.conf file to harden some of the networking related configurations. This file is located at /etc/sysctl.conf
sudo nano /etc/sysctl.conf
Then, add the things you want. I've added some comments to make things easier for you.
# Turn on Source Address Verification in all interfaces to
# prevent some spoofing attacks
# ------------------------------------------------------------
net.ipv4.conf.default.rp_filter=1
net.ipv4.conf.all.rp_filter=1

# Uncomment the next line to enable TCP/IP SYN cookies
# See http://lwn.net/Articles/277146/
# Note: This may impact IPv6 TCP sessions too
# this can prevent prevent SYN flood
# ------------------------------------------------------------
net.ipv4.tcp_syncookies=1

# Do not accept ICMP redirects (prevent MITM attacks)
# ------------------------------------------------------------
net.ipv4.conf.all.accept_redirects = 0
net.ipv6.conf.all.accept_redirects = 0

# Do not send ICMP redirects (we are not a router)
# ------------------------------------------------------------
net.ipv4.conf.all.send_redirects = 0

# Do not accept IP source route packets (we are not a router)
# ------------------------------------------------------------
net.ipv4.conf.all.accept_source_route = 0
net.ipv6.conf.all.accept_source_route = 0
Save it and exit to apply reload the settings. To do it, run the command below.
sudo sysctl -p
You will then see somehing like this.
debian@vps-9ea0e519:~$ sudo sysctl -p

net.ipv4.conf.default.rp_filter = 1
net.ipv4.conf.all.rp_filter = 1
net.ipv4.tcp_syncookies = 1
net.ipv4.conf.all.accept_redirects = 0
net.ipv6.conf.all.accept_redirects = 0
net.ipv4.conf.all.send_redirects = 0
net.ipv4.conf.all.accept_source_route = 0
net.ipv6.conf.all.accept_source_route = 0
Disable IPv6
If you dont want to use IPv6 on your server, you can disable it by editing the aforementioned /etc/sysctl.conf file. Add the contents below and repeat all the above mentioned steps to save and apply them.
net.ipv6.conf.all.disable_ipv6=1
net.ipv6.conf.default.disable_ipv6=1
net.ipv6.conf.lo.disable_ipv6=1
Firewalls
Most of the time, you'll be dealing with packet filtering firewalls like ufw (Uncomplicated Firewall). Using this along with docker is a bad idea since ufw works by modifying iptables (or nftables on newer systems) directly, in ways that can interfere with docker's own network management.
Docker dynamically configures firewall rules to allow container traffic, and when UFW is enabled, it can override or conflict with these rules, there breaking container networking.
To work ourselves around this issue, its best to use nftables directly or configure the firewalls in a docker aware way.
Please refer to the official documentation about docker with packet filtering and firewalls
Kernel Hardnening
sysctl.conf parameters
Even if someone gets access to the system by escaping out of the docker container - he might not always be root. While priviliage escalation can be done, its always better to hard everything as much as possible. These are specially useful if the server has multiple users and you dont want everyone to all the system logs. This will save you from other users going rougue.
Lets now edit the systctl.conf file to manage some kernel parameters.
This line will ensure that only the root user (UID 0) can read kernel logs using dmesg. Other non-priviliaged users will get a permissions denied error.
kernel.dmesg_restrict=1
You might also need to consider using Address Space Layout Randomization (ASLR). This is a technique used to randomize the memory address space of a process. This will save us from some attacks like buffer overflow most of the time.
kernel.randomize_va_space=2
We can also enable "Exec Shield" protection. This will also protect you from buffer overflow attacks by randomizing the virtual address space.
kernel.exec-shield=1
You can also restrict access to kernal pointers. This will restrict access to kernel pointers for unpriviliaged users. This too can help protect your server from kernal vulnerabilities.
kernel.kptr_restrict=2
To prevent users from loading additional and potentially mailicous kernal modules, add the line below.
NOTE: Before applying this, ensure that all the necessary modules are loaded beofore setting this parameter - as it cannot be undone without a reboot.
kernel.modules_disabled=1
Finally, as you already know, just apply the changes.
sudo sysctl -p
Lynis
This step is optional. Lynis is a security auditing tool, and it assists you a lot with security compliance testing. It will also tell you what improvements can be made to harden the server more.
"Lynis - Security auditing tool for Linux, macOS, and UNIX-based systems. Assists with compliance testing (HIPAA/ISO27001/PCI DSS) and system hardening. Agentless, and installation optional." - GitHub Repository
As this is a third party tool, we will get started by installing Lynis.
sudo apt install lynis
To perform an audit, run the command below.
lynis audit system
Lynis will then execute a series of tests on kernel parameters, authentication mechanisms, network configurations, file permissions, installed packages, and a whole lot of other stuff and display the results, including links to why/how to fix the issue.
HOWEVER, you should be careful when implementing these recommendations on systems with docker as some hardnening techniques/measures might inadvertenly interfere with docker's functionality.
Also, Lynis will generate a detailed report located at /var/log/lynis-report.dat of the last system audit performed.
If you just want to get started, this video covers the very basics of Lynis.
Applying these recommended tweaks go beyong this article's scope.
That's it! You now have a basic understanding of server hardening. Always make sure you understand the fundamentals and know exactly what you're doing before applying any of the techniques mentioned here, as improper changes can affect system stability or functionality.